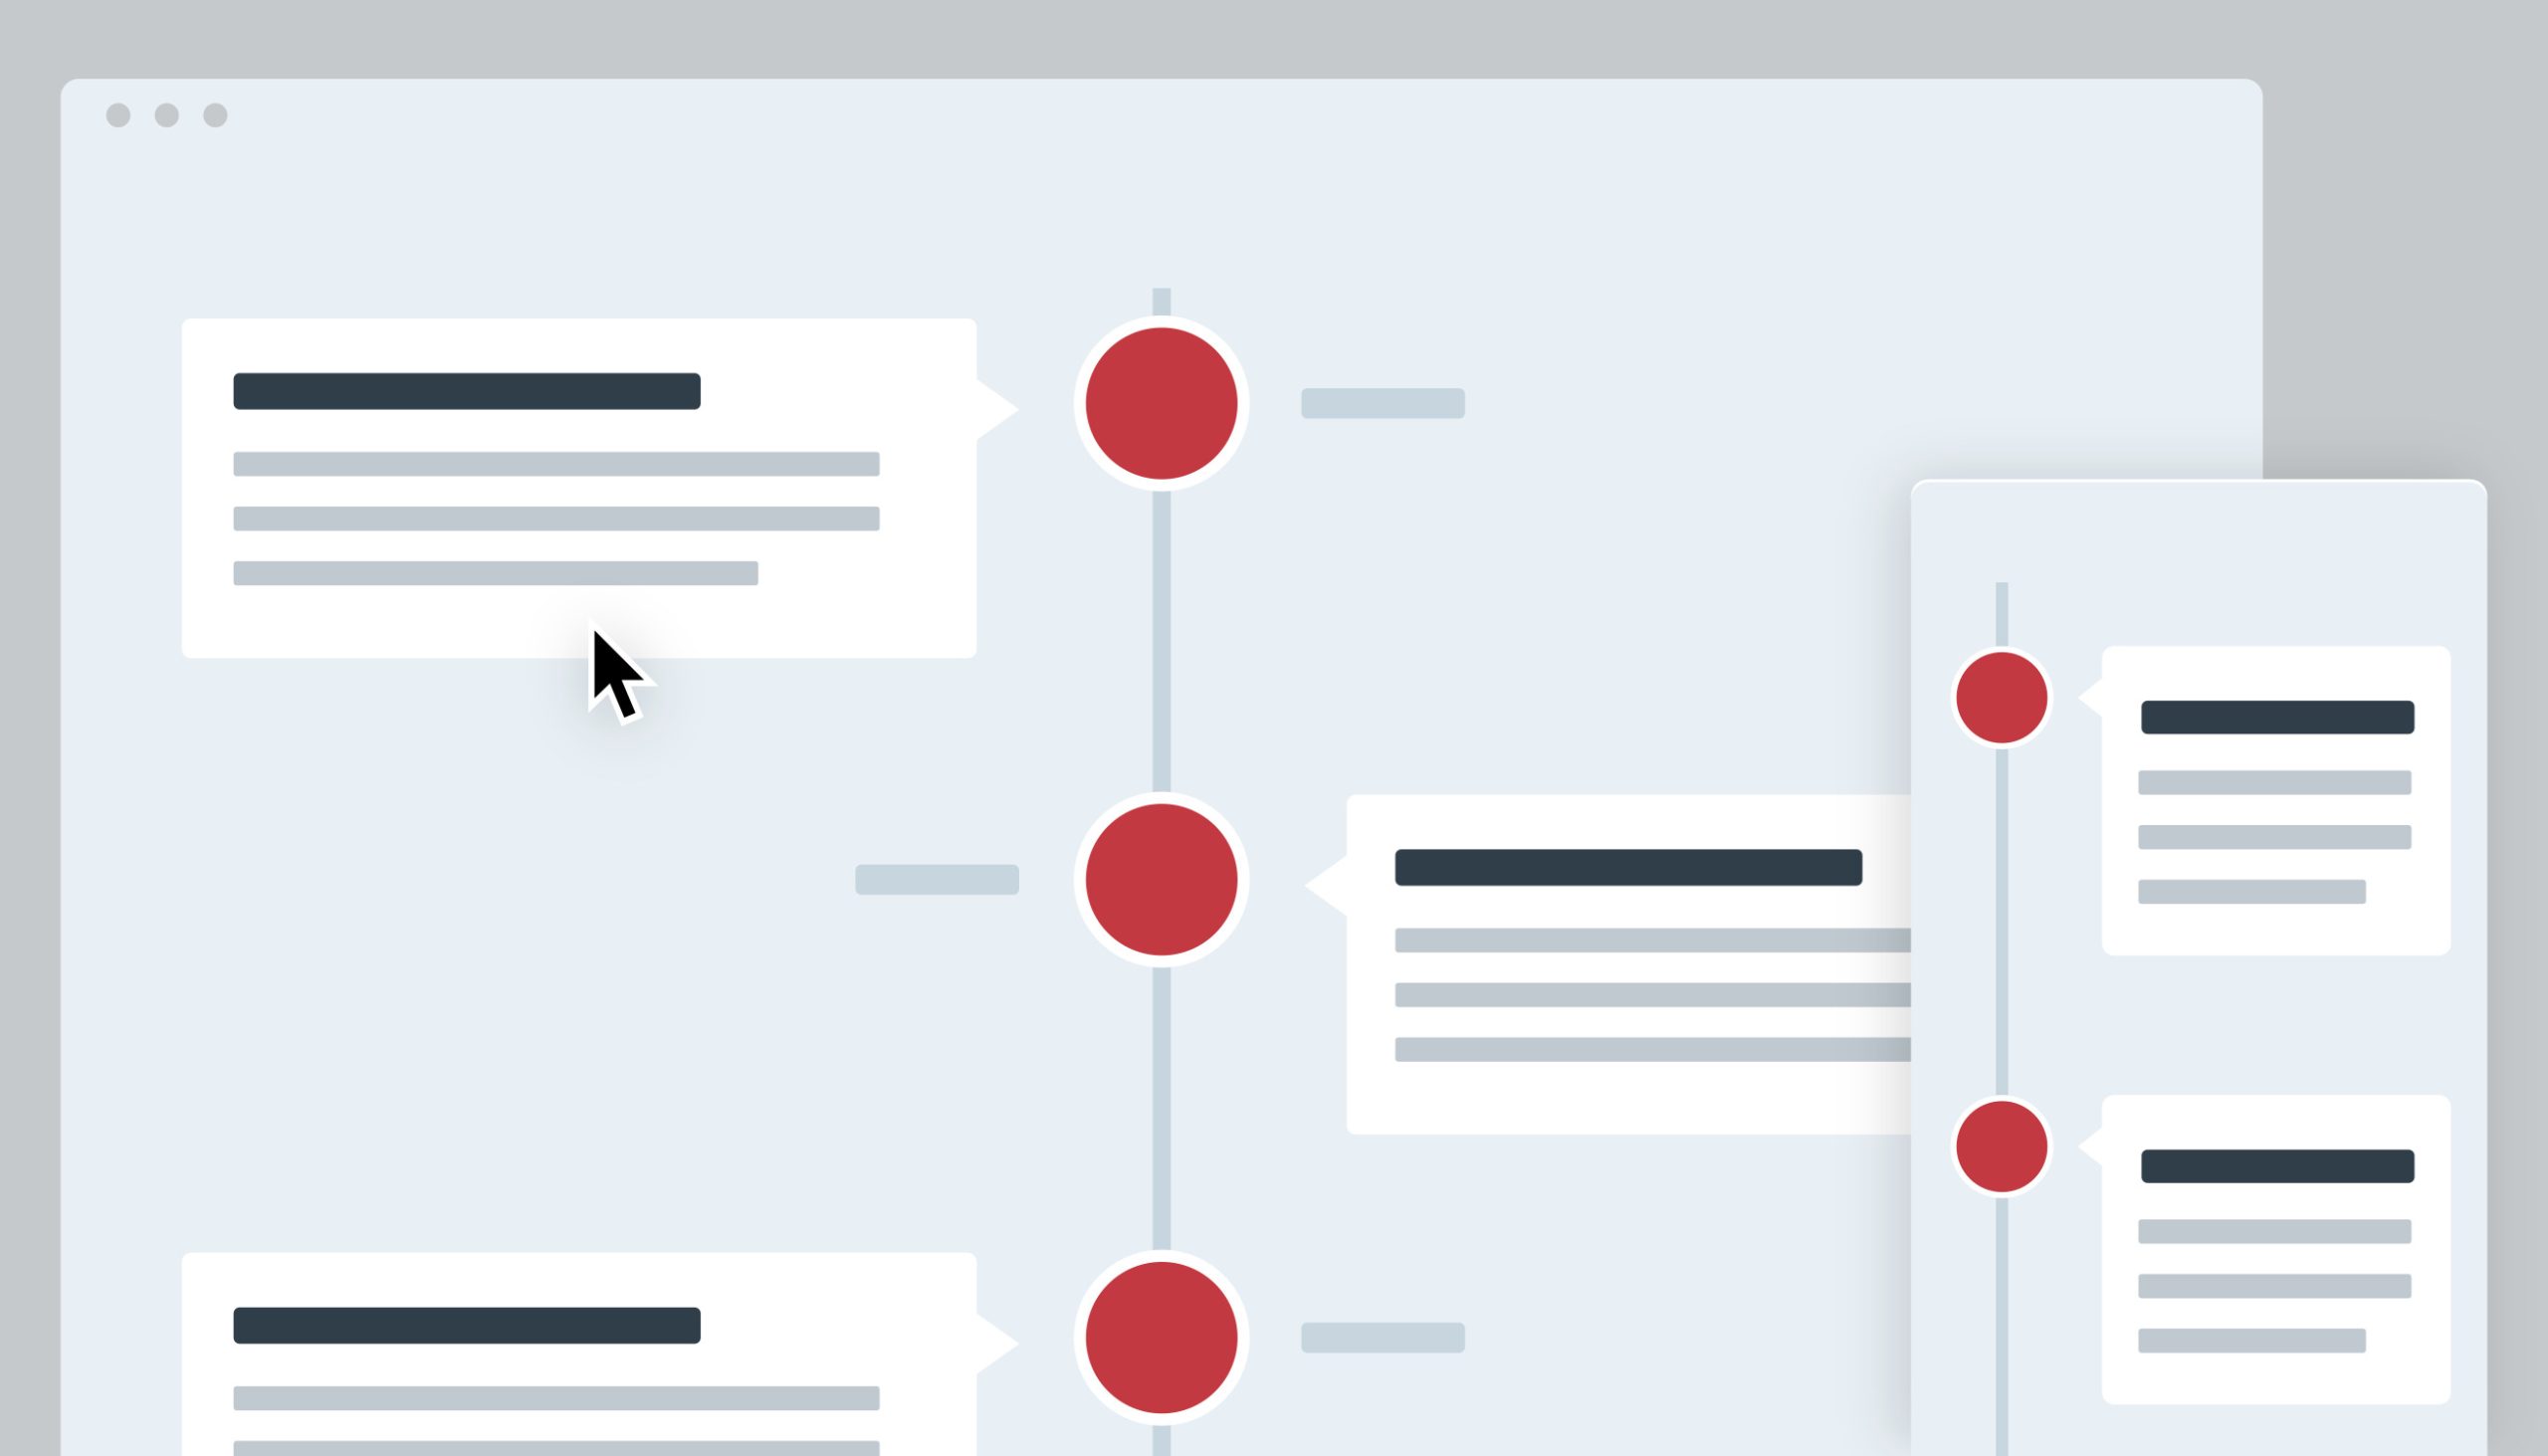
Introduction
The “Story Timeline” is a versatile plugin that offers an innovative way to present chronological information, whether it’s personal life events or the history of a company. You can provide an overview of events, highlighting critical points in time or detailing an agenda. This Elementor timeline plugin integrates ideally with elementor and ensuring the successful making of a timeline in your webpage.
Key Features:
- Multiple timeline layouts
- Customization options
- Easy creation process
- User-Friendly interface
- Advance styles and settings
Users can customize various aspects of their timelines to match their website’s design and branding. These customization options include:
- Colors: Choose colors that resonate with your brand or the theme of the timeline.
- Icons: Assign icons to each timeline event, providing a visual cue about the nature of the event.
- Images: Include images that are relevant to each event, enhancing the visual appeal of the timeline.
- Content Management: Add detailed descriptions or summaries to each event, providing context and information to viewers.
Step by step procedure to use timeline :
- Once you have installed “Elementor” on your WordPress website, now its time to use “Story Teller”.
- Add a new page and click on “Edit with Elementor”.
- Search for “Story Timeline” in Elementor’s widget search box and simply drag & drop on the page where you want to display it. Congratulation, you have successfully added a timeline to your webpage.
- Now click on the “edit story timeline” to edit the timeline.
- In edit section you can edit content manually or by using the Elementor AI, To use AI you just need to connect with Elementor AI service.
- You can also add and edit an image, video or a slide to your timeline content to make it more attractive.
- You can easily add as much of the timeline stories content as you want by just clicking on the “add item”.
- In Advanced section, you can change the icon of your own choice by just importing the desired one.
- Now its time to edit the layout. Click on the layout section and select the orientation of the timeline. You may choose any of the following orientations “Horizontal”, “vertical(Right only)” or “Vertical (Right/Left)”.
- Horizontal Timeline: This layout arranges events horizontally, creating a linear representation of the timeline.
- Vertical Sided Timeline (Right Only): Similar to the vertical timeline, this layout exclusively places events on the right side of the page.
- Vertical Timeline (Right / Left): This layout displays events in a vertical sequence either on the right or left side of the page.
- Horizontal orientation allows maximum of 6 slides. It is recommended to use pro version of Elementor timeline plugin developed by Cool plugins to add spaces between slides, change navigation icons, display icons or to add animations to make your timeline more attractive.
- Adjust the icon position with position slider.
- To change the styles of the timeline, you can use line setting to change the color, size or filling of scroll line with pro version.
- Pro version also enables to edit icon box, images or to change the color of text and the background.
- Basic Content background can be changed with free version while the advance editing can be done with pro version.
- Using the Advance Menu allows you to add motion effects, Transform timeline, add border or add mask.
That’s it, you have successfully designed your timeline.
Conclusion :
With the Elementor timeline addon “Story Timeline” pro version, you can easily create captivating timelines that visually depict your story or history. The “Story Timeline” plugin serves as a powerful tool for individuals, businesses, and organizations looking to showcase their journey, achievements, or historical milestones in an engaging and visually appealing manner. Whether you opt for a vertical or horizontal layout, the addon provides the means to craft an attractive and informative timeline without the need for extensive coding or design skills.
